
|
 |
 |
 |
 |
 |
 |
 |
 |
|
|
 03-09-2008, 08:53 PM |
#1 |
|
restorer of the original

Join Date: Mar 2008
Location: Zionsville,PA
Moto: '93 ZR1100 &'73 Kawasaki H1 500
Posts: 1,331
|

Finally got over to NJ to my friend's place to plastic bead blast the cases. Nice uniform finish now.
 I also had to order a seal set. Thought I had a set but didn't  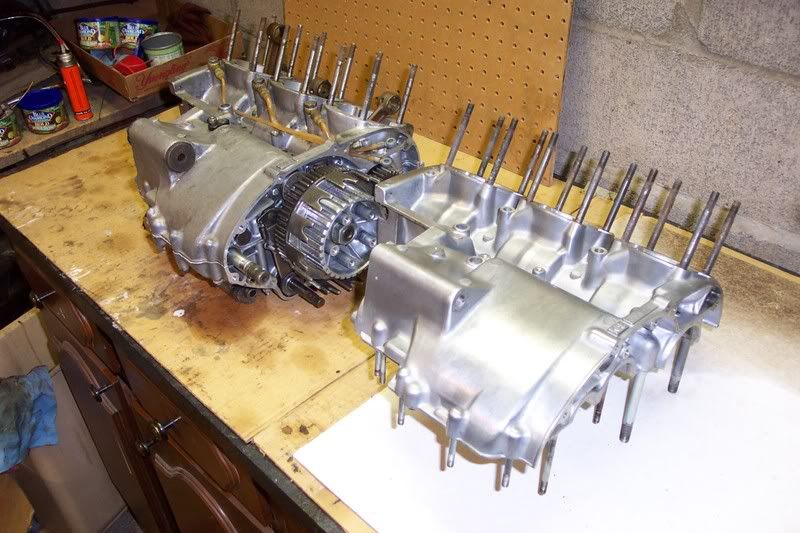 I had purchased a complete bottom end from another triple enthusiast to transplant into my bike. I transfered the crank and the gear set into my original cases for my '73 H1. 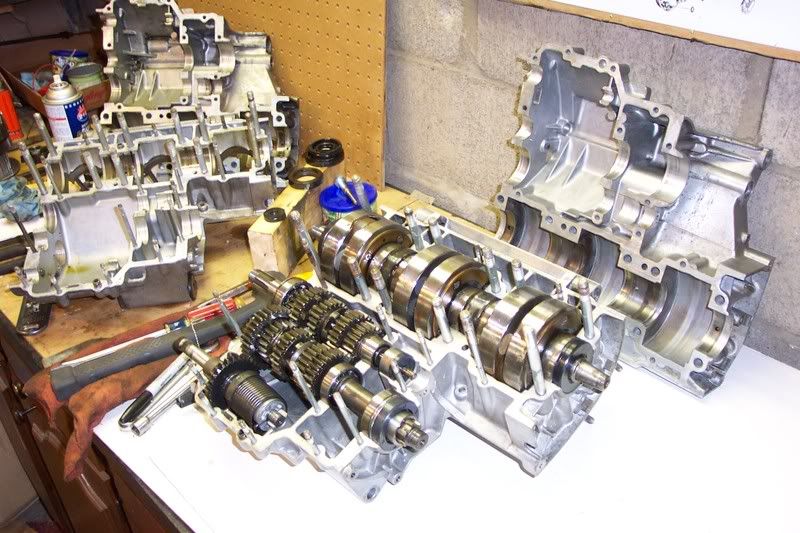 I had put the cases together last night but the gears weren't shifting.  After checking on the triple forum, I found out I didn't "over oil" the shift drum. It "probably" would have been OK, but I didn't want to take a chance. Better to spend an extra hour or two now than have to remove and strip down a complete motor. :cursin: I pulled it apart last night and reassembled it again tonight. Plenty of oil was poured onto the shift drum. I made sure all the gears shifted correctly while sitting in the top case ( it gets assemebled into the top half) and checked it again after torquing the cases. :seeya: Jeff ~~~~~~~~~~~~~~~~~~~~~~~~ Got some more work done on the triple engine today. Installed the crank gear and the clutch basket. Torqued them to 85 ft lb and also found out that mechanix gloves would be a great investment. I took a some chunks out of my thumb and forefinger :cursin: Found out "new skin" burns when you put it on too :yikes: Got the clutch installed and the sidecover. I purchased new stainless steel allen bolts for the engine too. 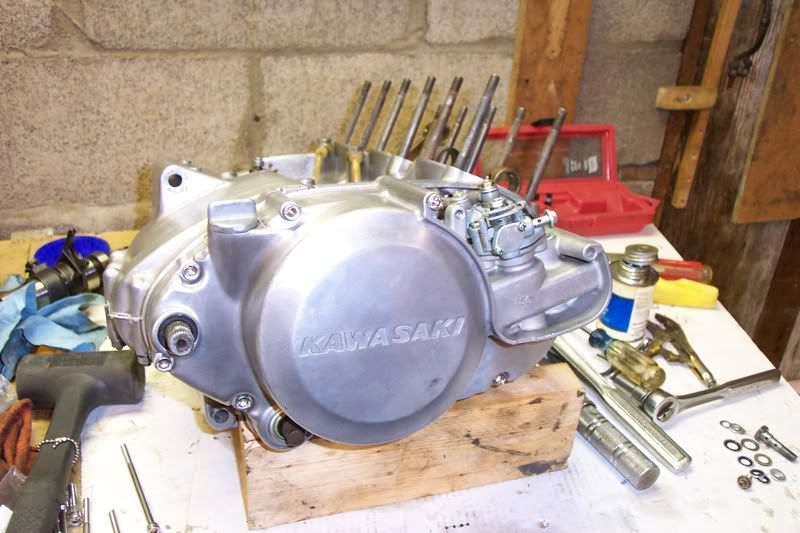 I put "anti-seize" on the engine side of the gasket so if I have to remove the clutch cover later, the gasket won't tear. Also installed the oil lines and the oil injection pump. 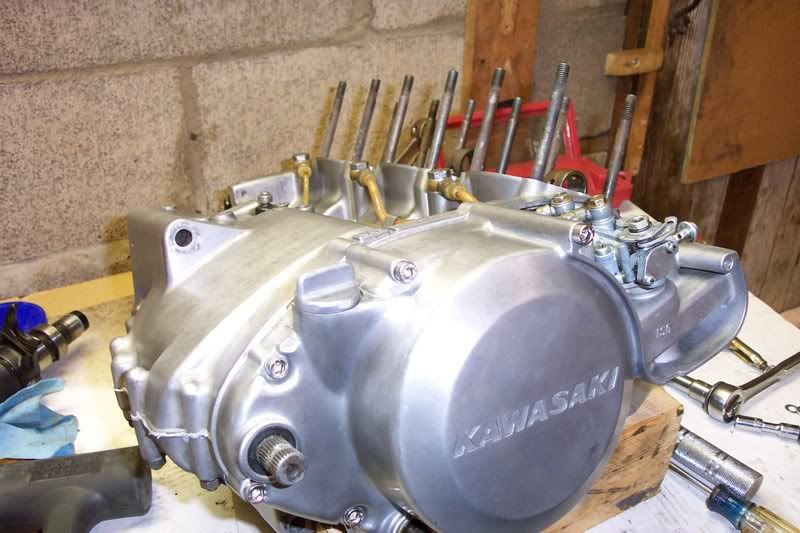 Instead of the aluminum crush washers for the banjo bolts, I purchased "Stat-O-Seals" to use instead. They're an aluminum outer washer with a rubber o ring on the inside. They seal much better. 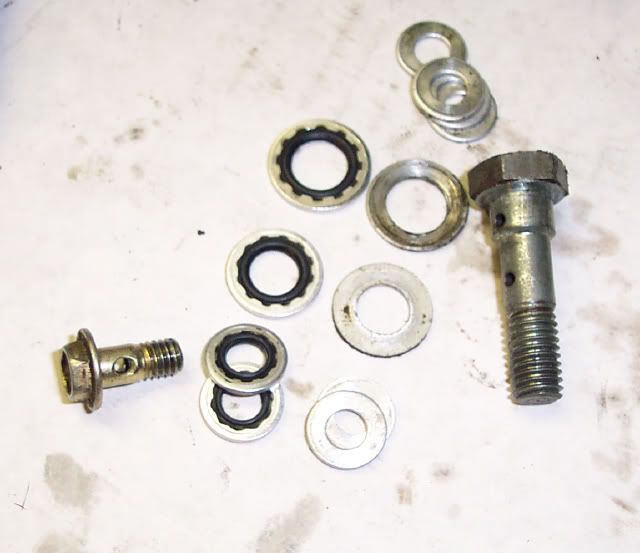 I put the needle bearings in the rods and installed the pistons. Still need to put in the circlips and rings before I put the cylinders on. (pic was before I put them on) 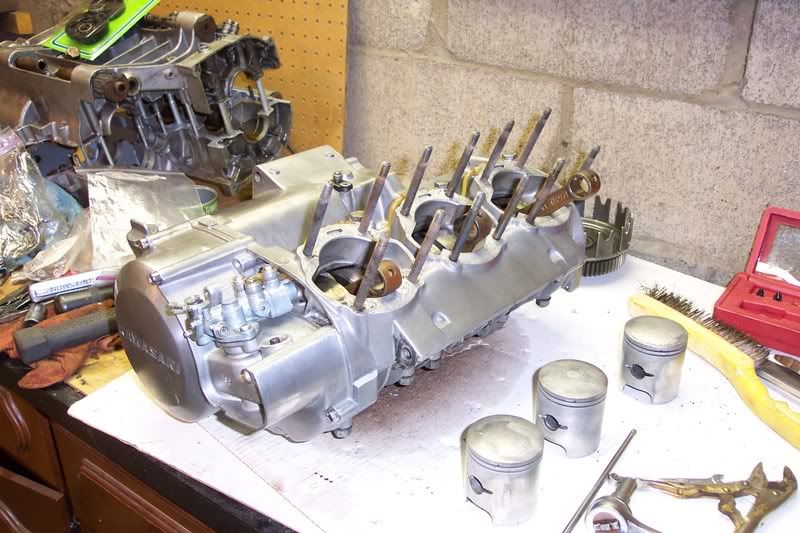 :seeya: Jeff ~~~~~~~~~~~~~~~~~~~~ Got a little more done tonight. Here was my first purchase this afternoon before grabbing a wrench. Took a week for my gouges to heal. 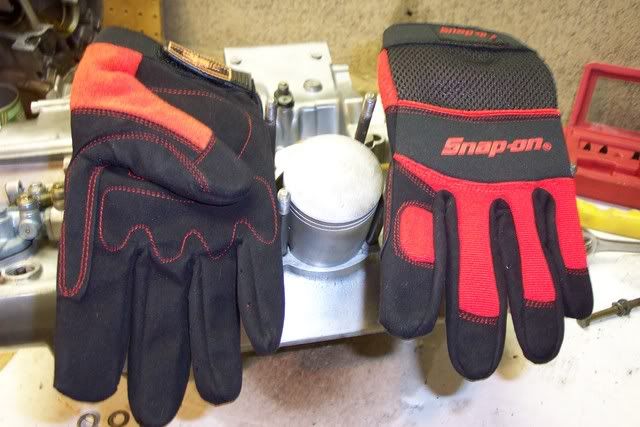 I got the last pair of XL at my local ACE hardware for $18. 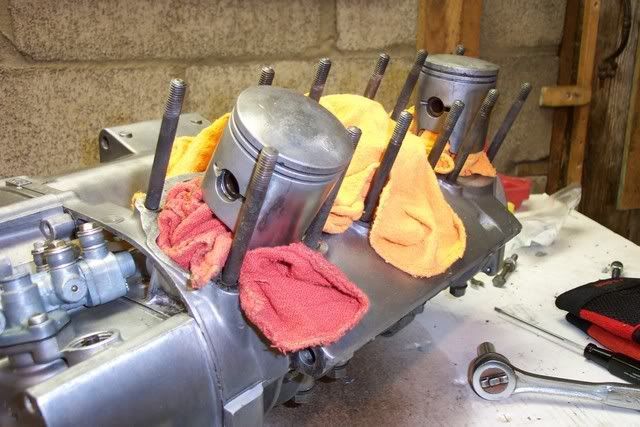 I put in the circlips in the pistons. I stuffed clean rags in the openings so nothing would fall into the cases. I did NOT want to pull the cases apart again. 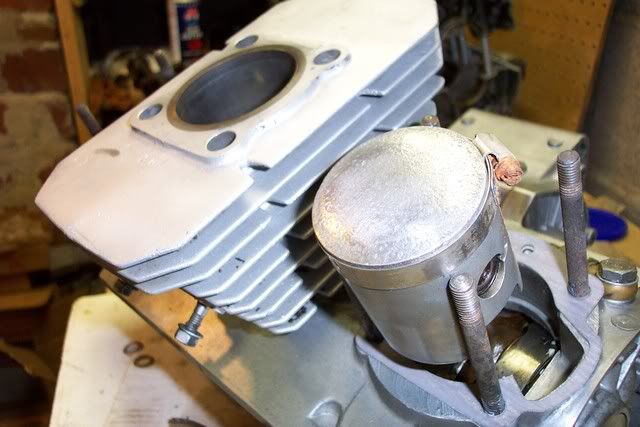 How's that for a "high tech" piston ring compresser I found a perfect sized hose clamp off an old air cleaner.Since this is a two stroke with an oil injection pump, I want to prime the oil pump and fill the lines. So I got some 3/8 NPT ( national pipe taper ) half fittings that were the same thickness as the heads. 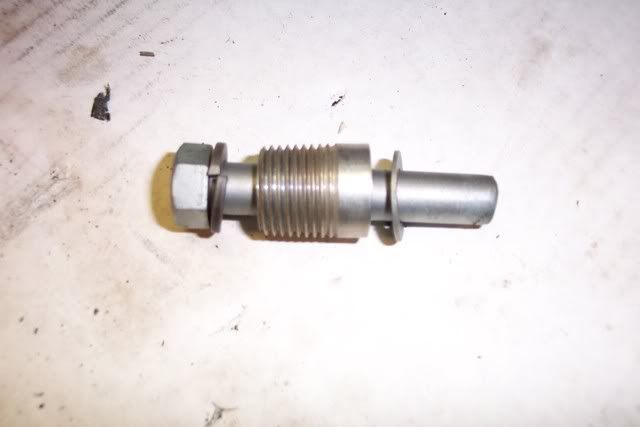 I put them on the studs and torqued them down to 16 ft lbs. 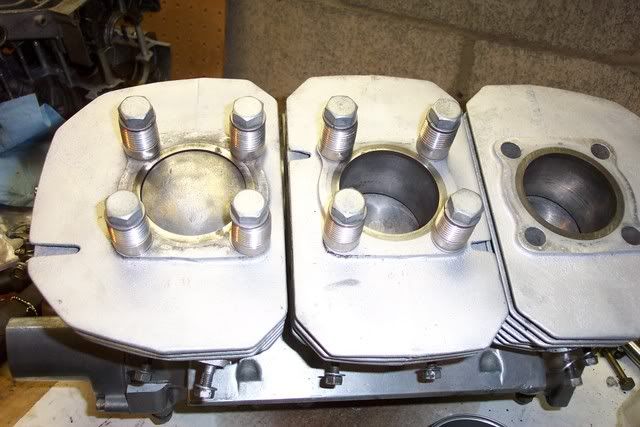 Tomorrow I"ll rig up an oil tank and make it so I can spin the engine with a big 1/2" drill I borrowed from work :seeya: Jeff |

|

|
|
03-09-2008, 08:55 PM
|
#2 |
|
restorer of the original
Join Date: Mar 2008
Location: Zionsville,PA
Moto: '93 ZR1100 &'73 Kawasaki H1 500
Posts: 1,331
|
I primed the oil pump today. I borrowed a drill motor from work to run the crank CCW.
I did not have the stator on, so I cleaned the threads with a tap ( M8-1.25 on my H1) and used a bolt with a full size jam nut against the crank. I used a 1/4" drive 6 point socket on the bolt head with an extension held in the chuck of the large 1/2" drill motor. The other way to do this would be with a socket head cap screw ( with a jam nut ) using a cut off allen wrench in the drill motor. 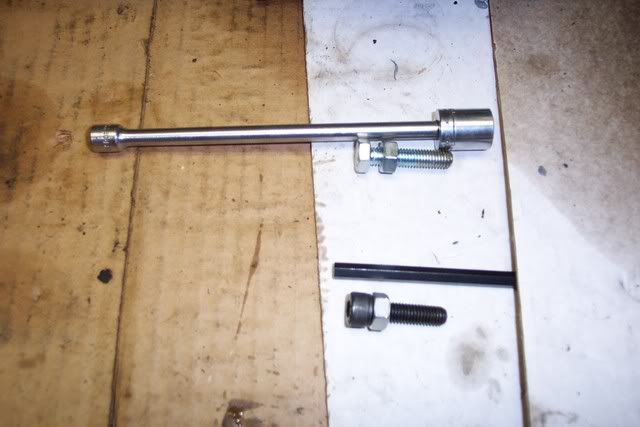 Here's everything ready to go. "Hey!! Where'd you get the oil tank?"  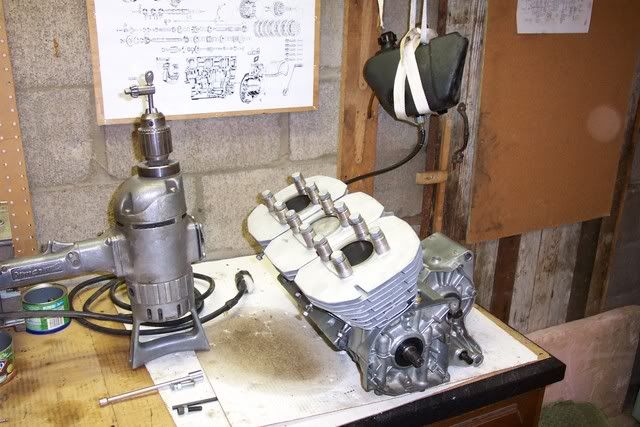 Works for me 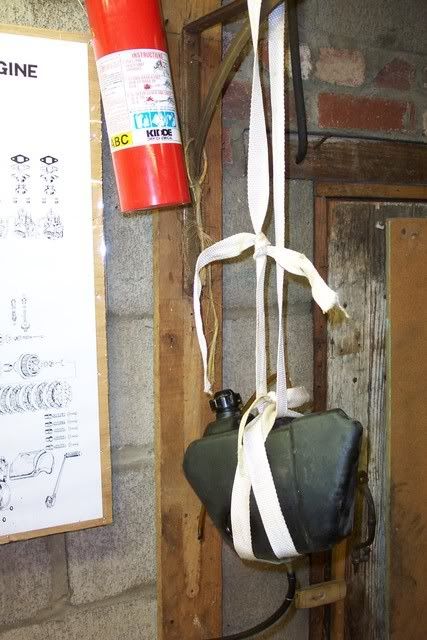 Make sure the oil pump is held at maximum flow. 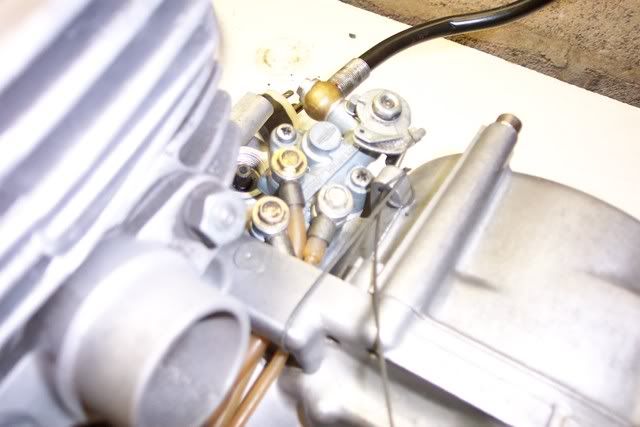 The 1/4" extension fit in the end of the drill motor chuck. 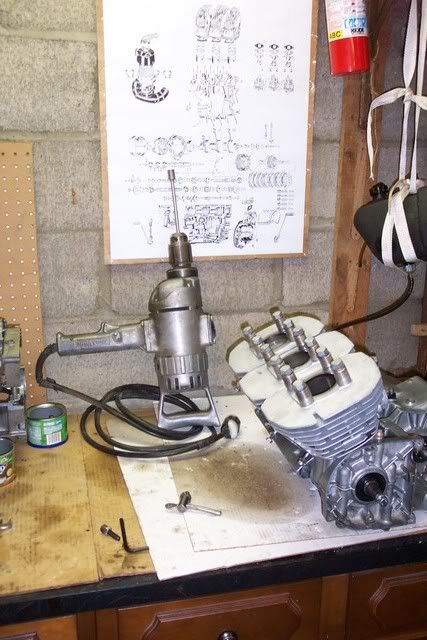 The drill motor was rated at 650 rpm. I hooked up a tach and sure enough, that's how fast I was turning the crank. 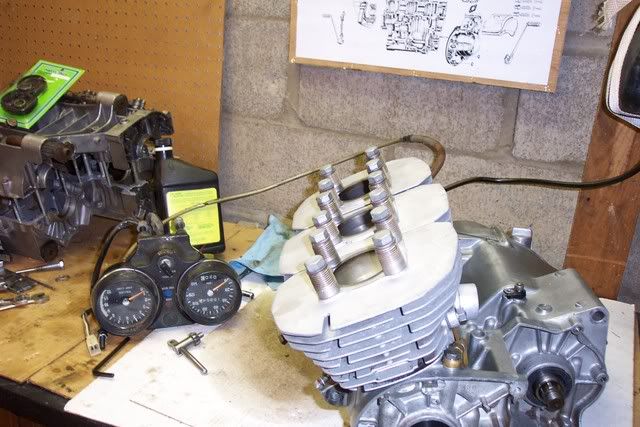 Here's another picture of me running the drill motor with one hand while taking a picture. It went really easy. 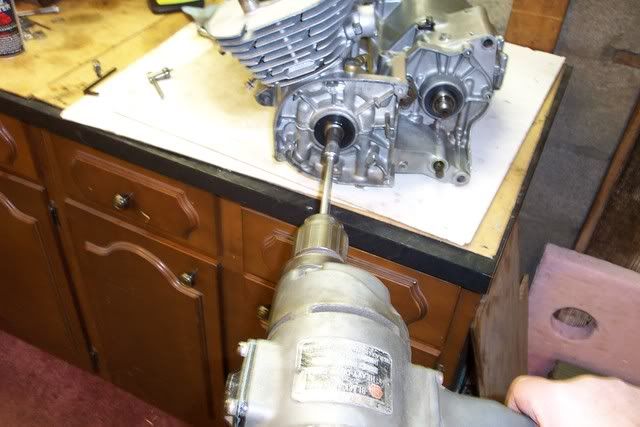 Lines are primed and the cylinders got oil on them ( I did have injector oil on them before I started). Later I take off the half couplers and put on the heads with new copper gaskets. :seeya: Jeff ~~~~~~~~~~~~~~~~~~~ I took off the spacers and installed the heads with brand new copper gaskets. Torqued the heads down to 16 ft lbs. 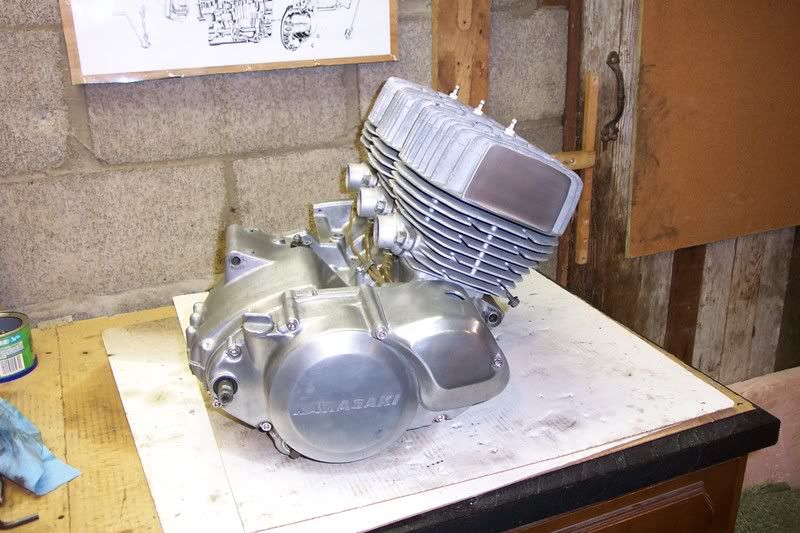 Now it's time to take everything off the frame to sandblast and paint it. :seeya: Jeff Sears was running a special on this 154 pc set, down from $150 to $100. English & metric in 1/4", 3/8" & 1/2" sockets ( deep 6 point, and 6 & 12 point ) plus wrenches.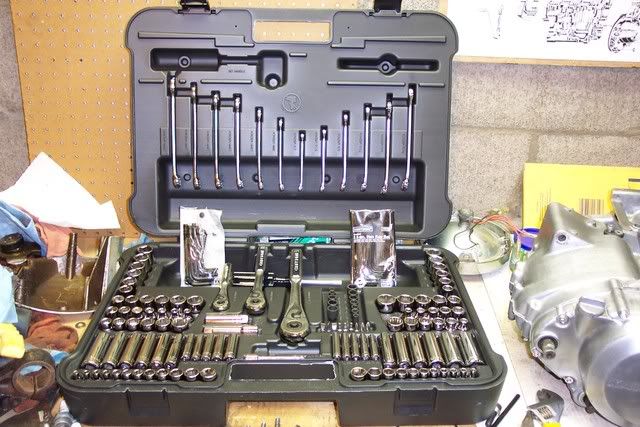 Here's what I started with..... 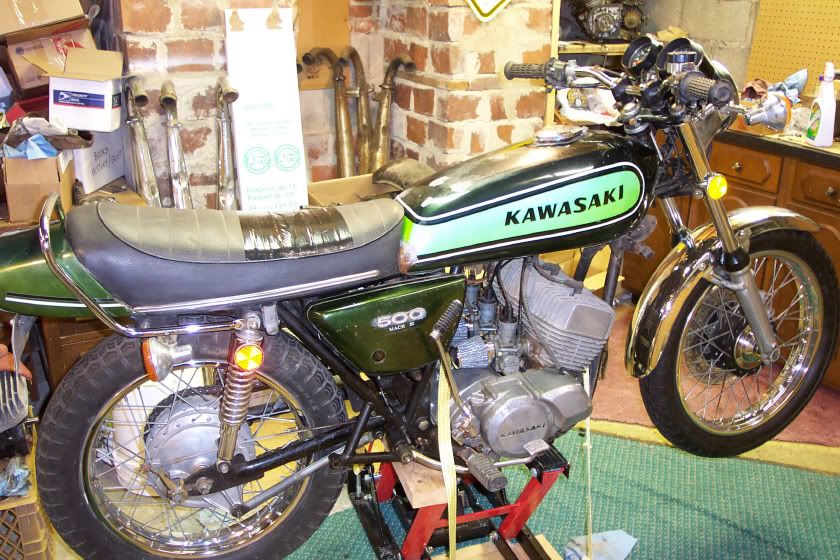 and got it to this point before dinner. 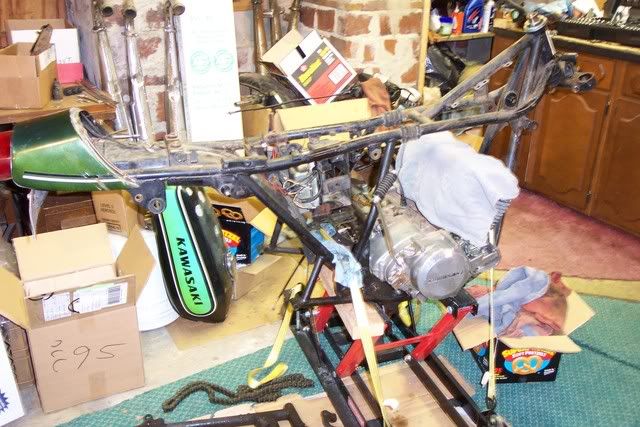 Off to pull the motor and the final few parts :seeya: :seeya: Jeff ~~~~~~~~~~~~~~~~~ More progress this week. The frame is stripped down and will be sandblasted next weekend. 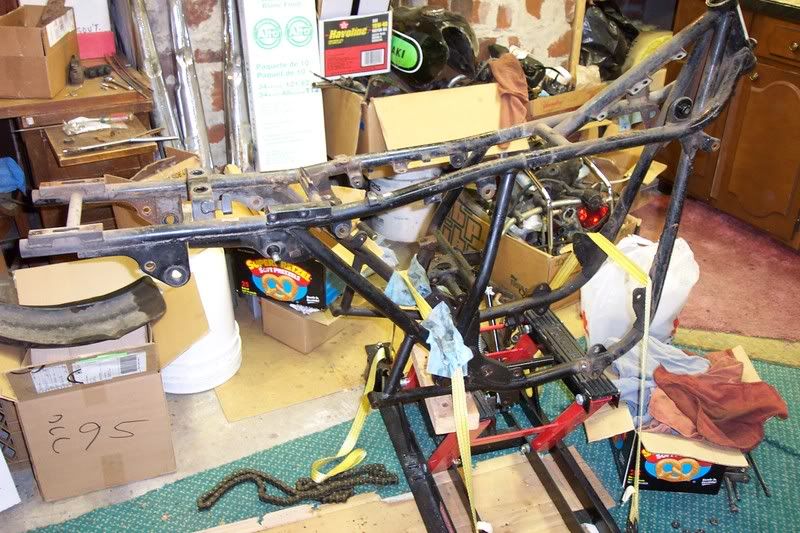 I glassbeaded and painted the battery box, oil tank mount, rectifier mounting plate, headlight bucket and the upper triple tree. Everything turned out well except the headlight bucket. A fly landed and got stuck in the paint ( right on an area you see :bas: ) 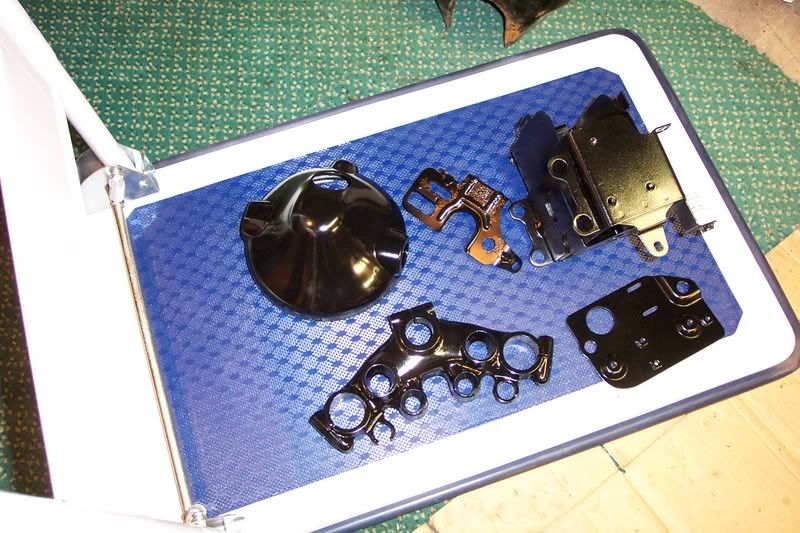 I stopped over at my friend's Kurt garage and used his parts washer to clean up some parts. 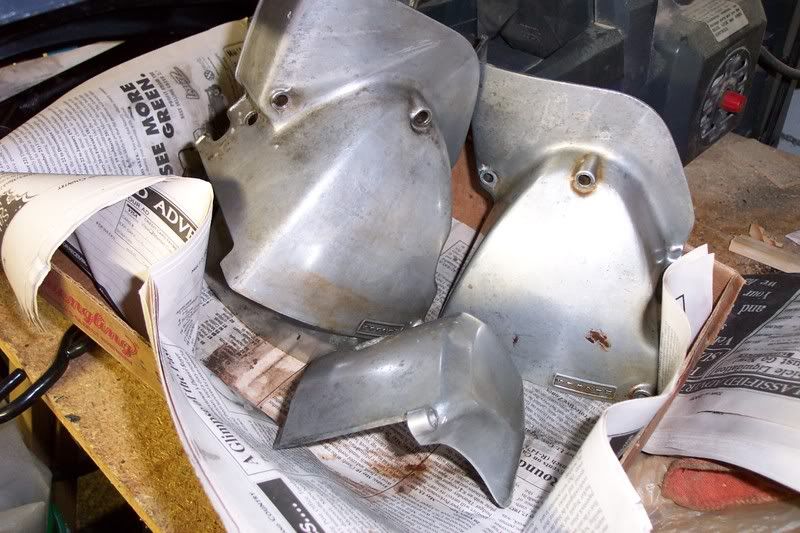 The inspection sticker on the inner fender was current in 1976  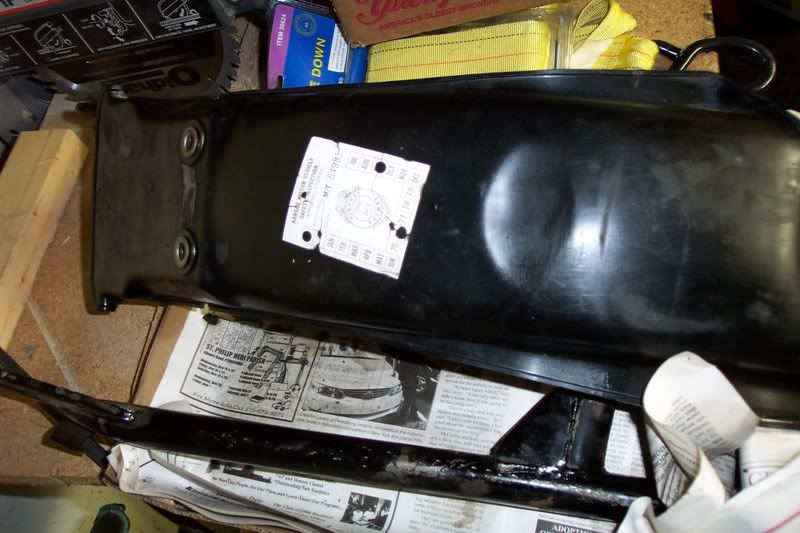 :seeya: Jeff |
|
|
|
|
03-09-2008, 08:58 PM
|
#3 |
|
restorer of the original
Join Date: Mar 2008
Location: Zionsville,PA
Moto: '93 ZR1100 &'73 Kawasaki H1 500
Posts: 1,331
|
This post has the correct date
 The weather finally cooperated enough that I could bead blast the frame and swing arm. I used extra fine "Black Beauty" as the blast media. I did the bead blasting at my friend Dave's. ( thanks Dave  ) I took the frame into work immediately following the bead blasting and painted it with Rustoeum Appliance Epoxy in gloss black. ( It has two coats of paint on it. The light area is from the camera flash) 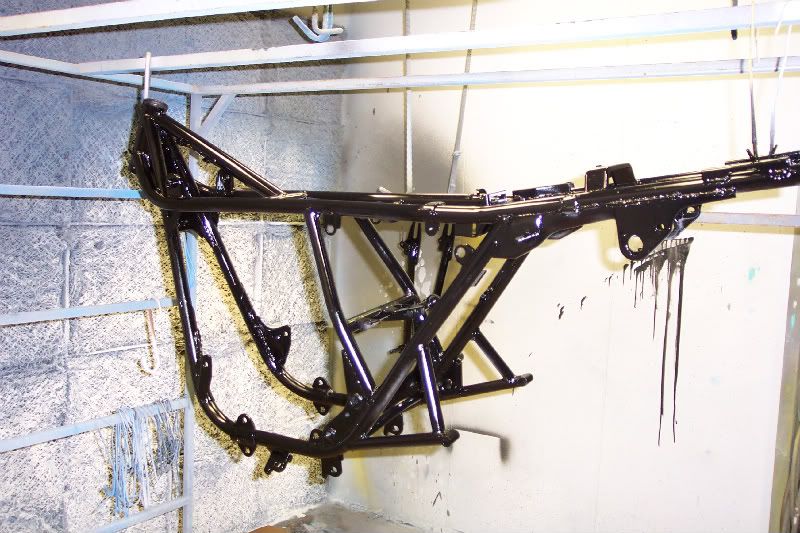 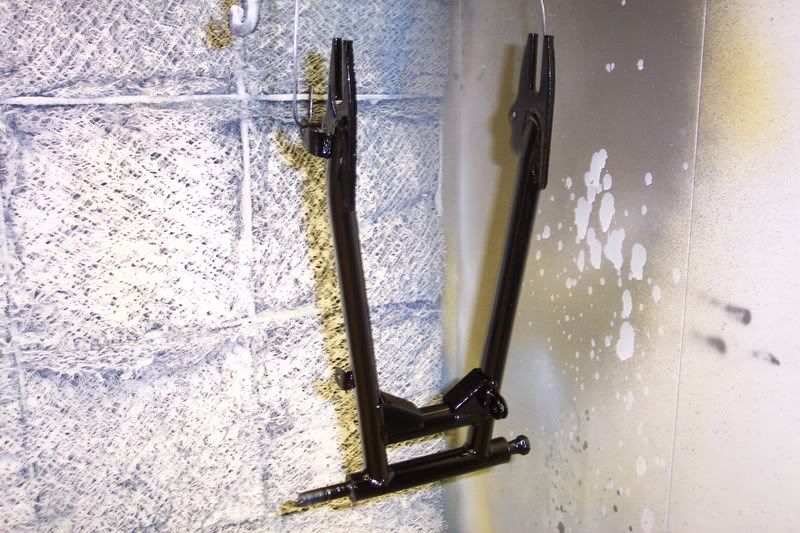 Now I can finally start putting it back together  :seeya: Jeff |
|
|
|
|
03-09-2008, 09:04 PM
|
#4 |
|
Ride Like an Asshole
Join Date: Feb 2008
Moto: nothing...
Posts: 11,254
|
Why not powdercoat the frame? I figure that would hold up better, right?
|
|
|
|
|
03-09-2008, 09:24 PM
|
#5 | |
|
restorer of the original
Join Date: Mar 2008
Location: Zionsville,PA
Moto: '93 ZR1100 &'73 Kawasaki H1 500
Posts: 1,331
|
Quote:
|
|
|
|
|
|
03-12-2008, 05:02 PM
|
#6 |
|
Trip's Assistant
 
Join Date: Feb 2008
Location: Imported from Detroit
Moto: 2009 HD Street Classic
Posts: 12,149
|
For some reason I don't think Jeff gets the SON reference...
|
|
|
|
|
03-12-2008, 05:36 PM
|
#7 |
|
TWFix Legend

Join Date: Feb 2008
Location: Denver CO
Moto: 01 BMW F650GS Dakar
Posts: 15,677
|
Nice! can't wait to see this finished!
|
|
|
|
|
03-12-2008, 09:30 PM
|
#8 | |
|
restorer of the original
Join Date: Mar 2008
Location: Zionsville,PA
Moto: '93 ZR1100 &'73 Kawasaki H1 500
Posts: 1,331
|
Quote:
|
|
|
|
|
 |
| Bookmarks |
| Thread Tools | |
| Display Modes | |
|
|




 Hybrid Mode

