
|
 |
 |
 |
 |
 |
 |
 |
 |
|
|
 10-21-2009, 05:06 PM |
#1 |
|
Trip's Assistant
 
Join Date: Feb 2008
Location: Imported from Detroit
Moto: 2009 HD Street Classic
Posts: 12,149
|

Trans oil was in good shape
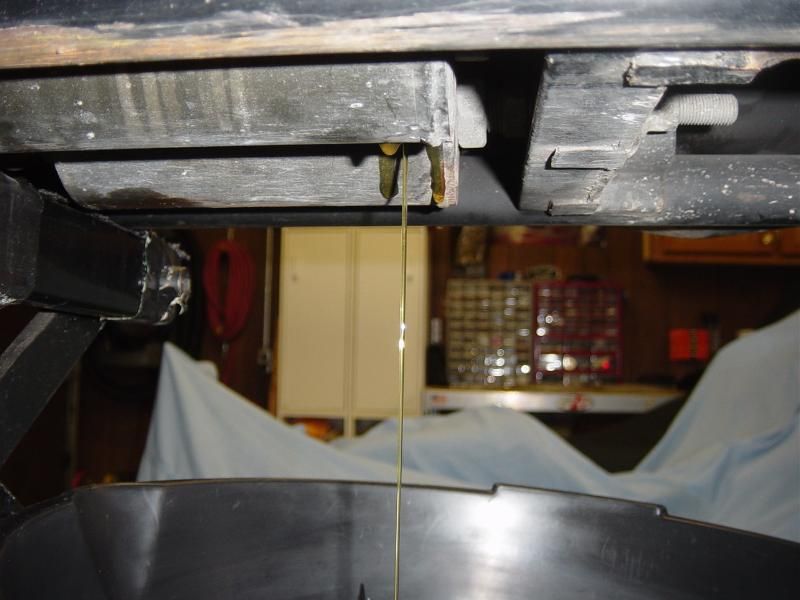 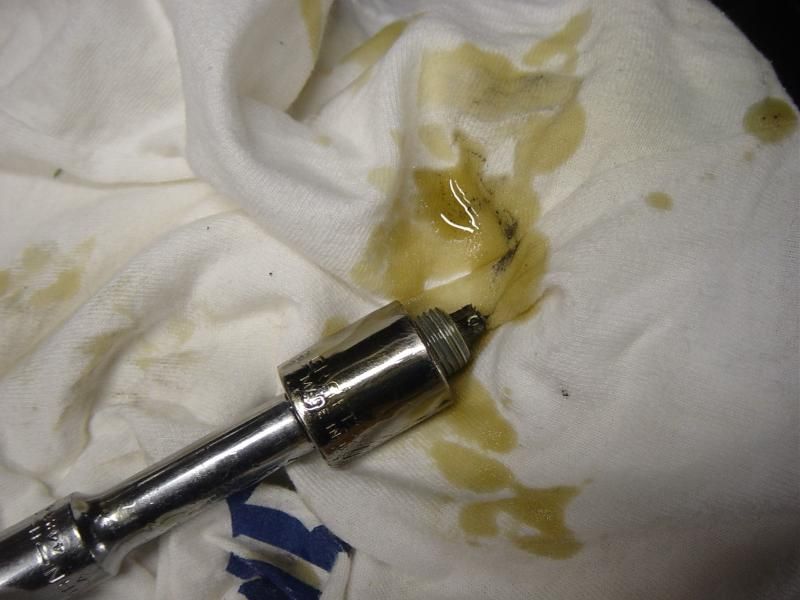 Engine oil not so much 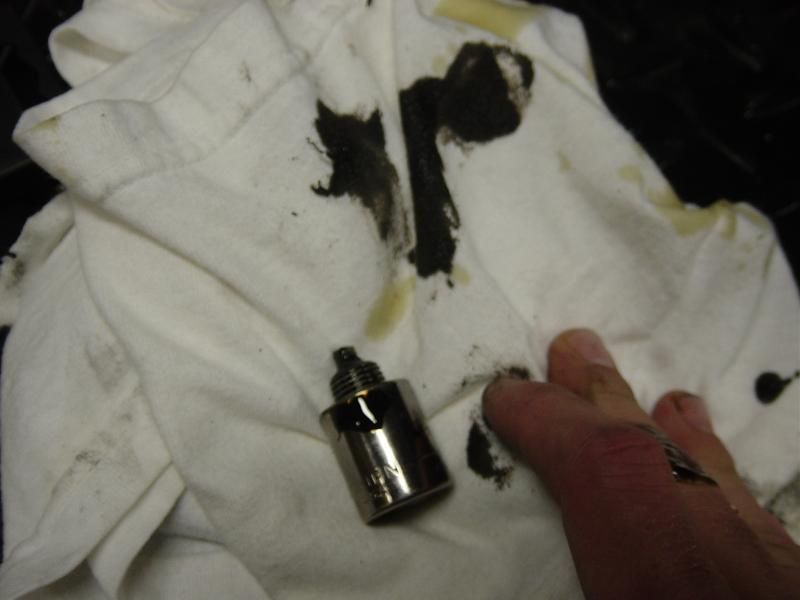 I also, lubed and adjusted all the cables, lubed up the kickstand which was sticking, washed the bike between rear wheel and oil change, obviously put rear belt deflection to spec when installing rear wheel, checking primary chain, replacing the spark plugs and dielectric both ends of both plug wires... but we continue As previously shown the exhaust heat shields were BEAT. I removed them 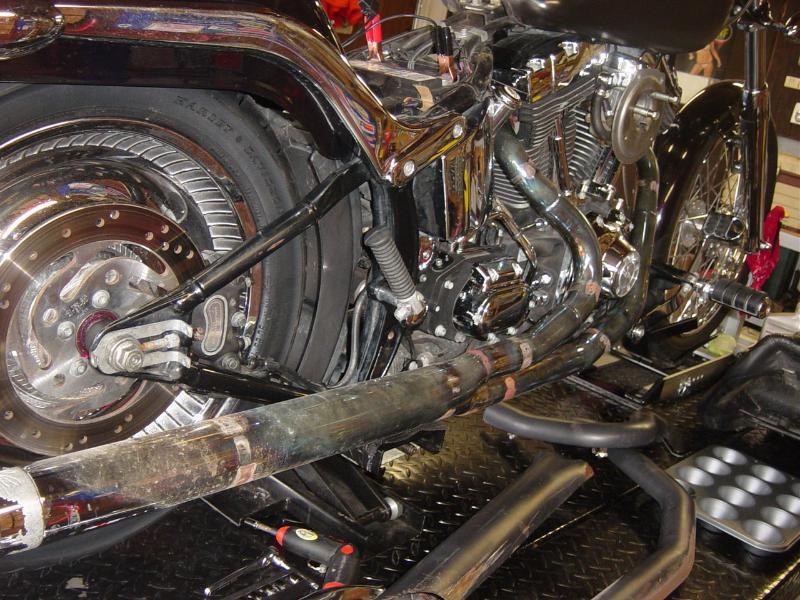 So I sanded them a bit... 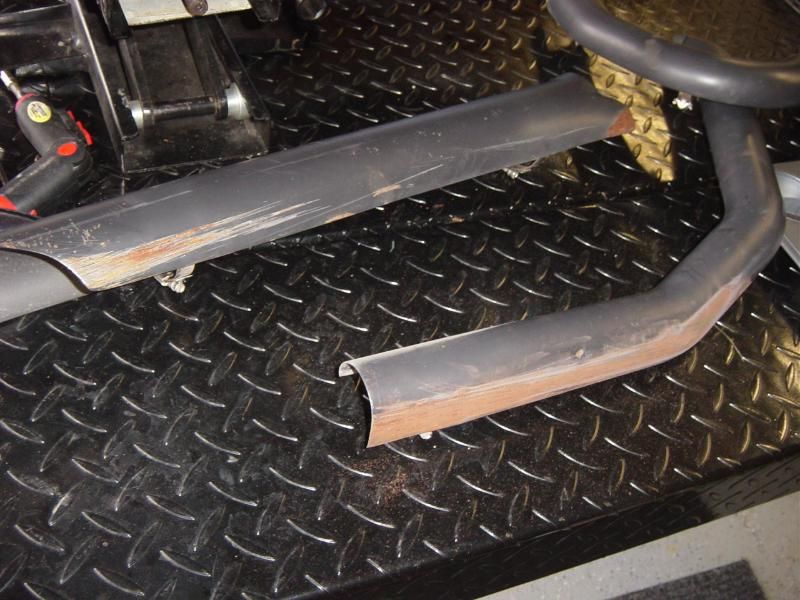 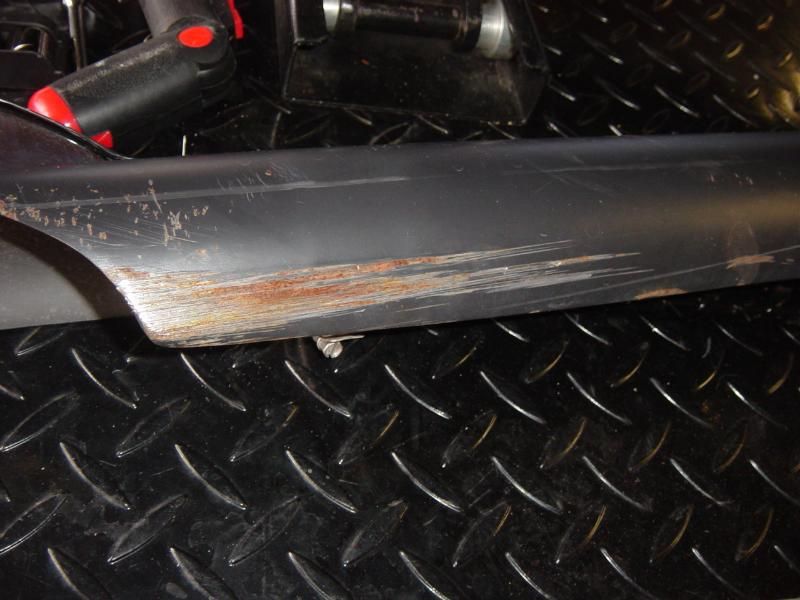 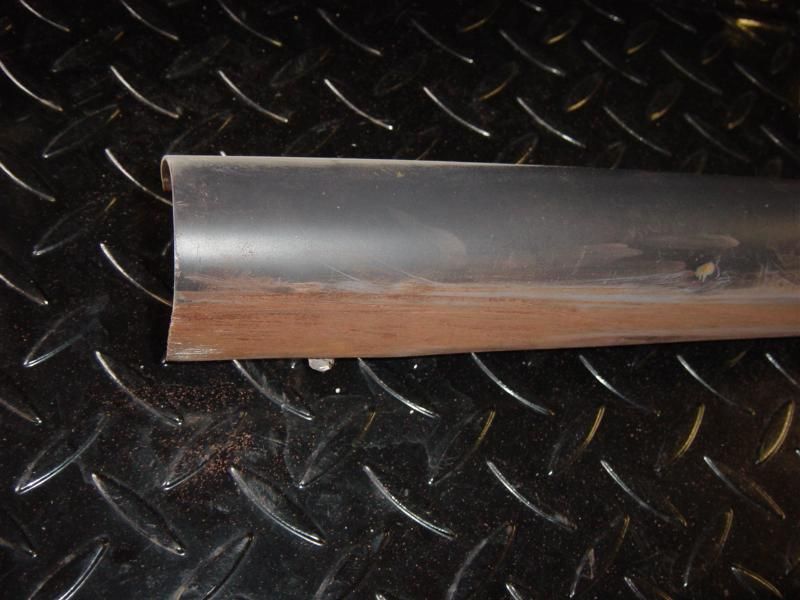 Just to realize that was going to cut it and took a sandpaper wheel to them to remove the stuburn rust. Got it all off and used some VHT ceramic on them 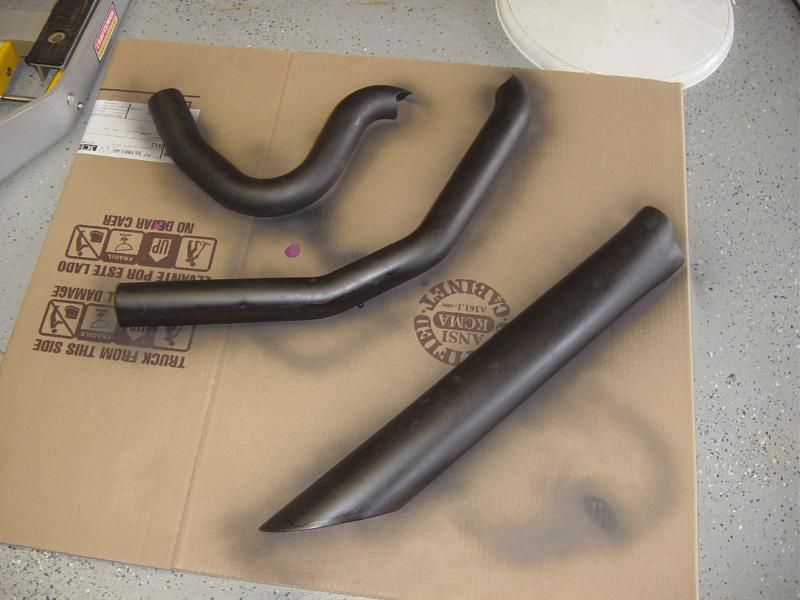 About 70% of the tips chrome flaked off so I decided that would go black as well. The bolt on the bottom was ground down so instead of drilling it out and making a larger job of it, simply taped off and used the same ceramic spray 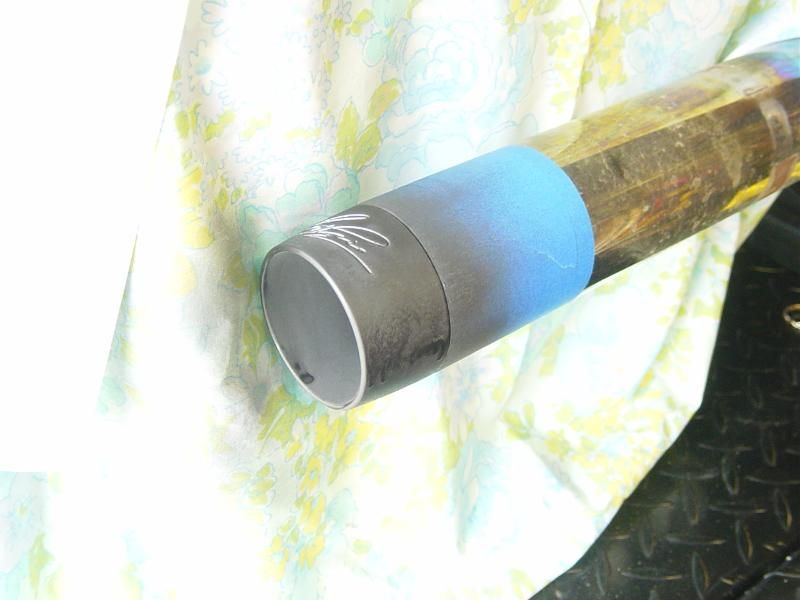 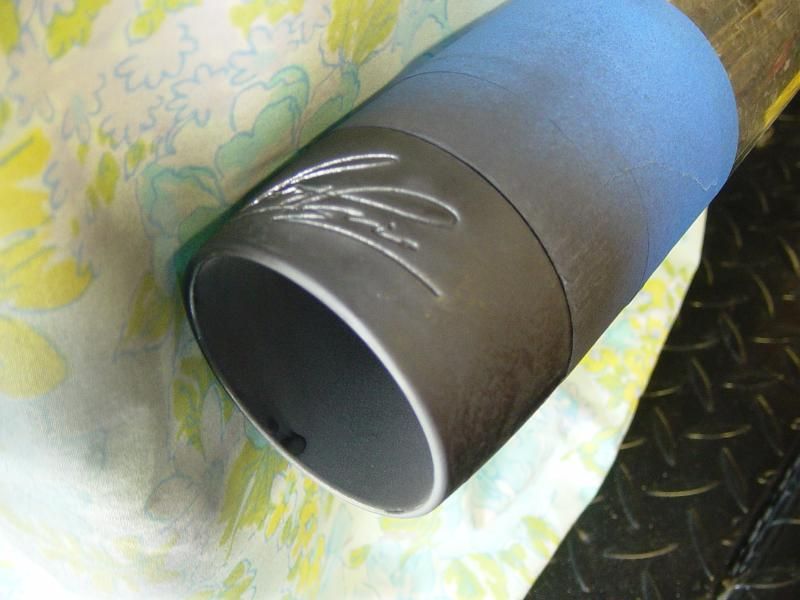 More coats 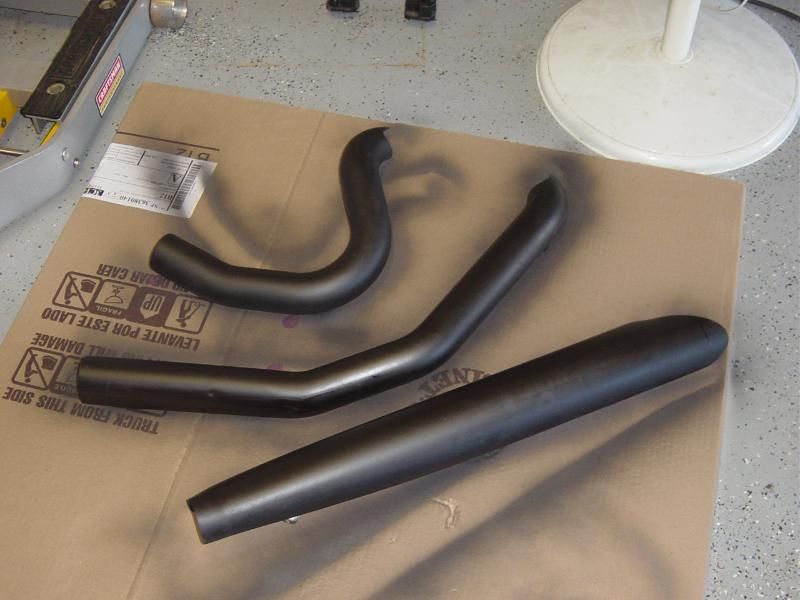 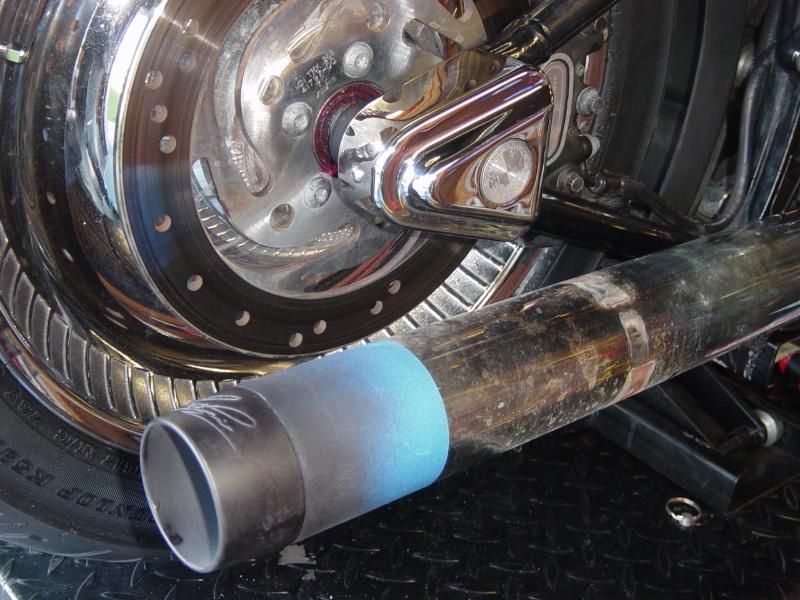 in the meantime I worked on the shifter assembly of the forward control. it was super sloppy and floppy. Disassembled it 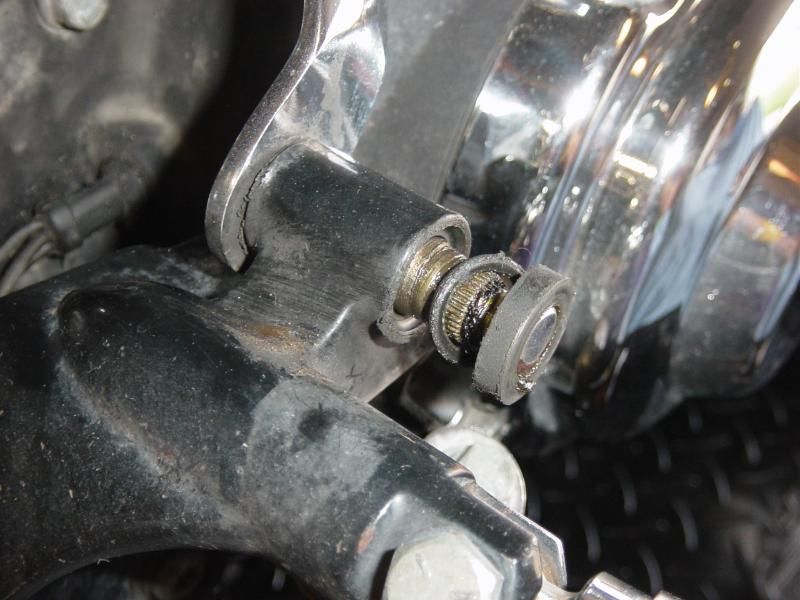 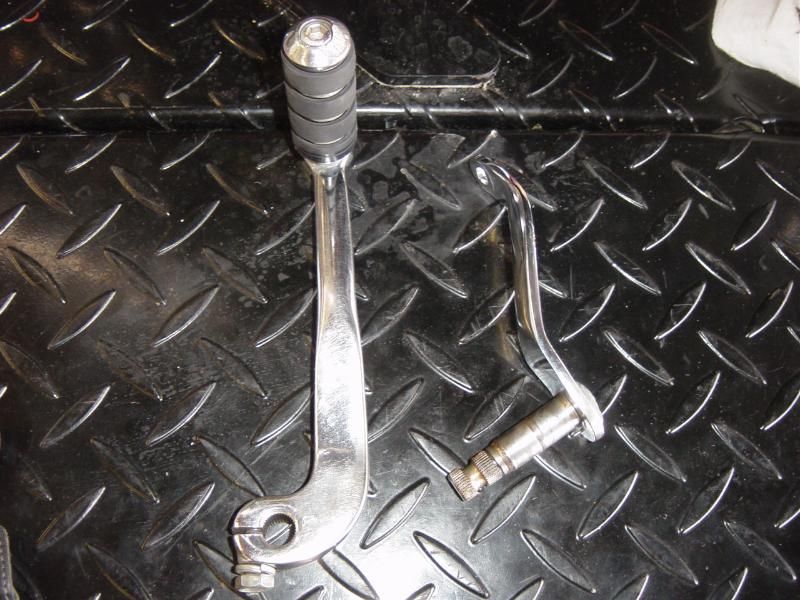 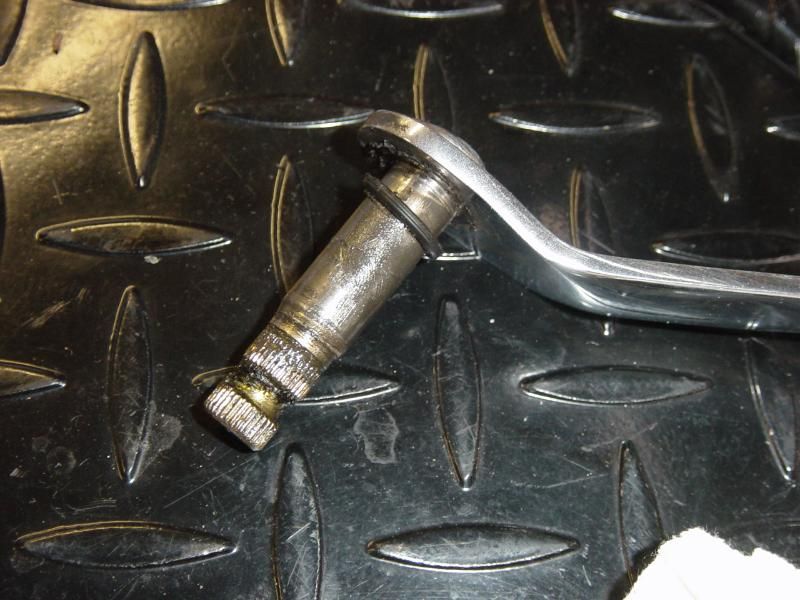 pressed in the new bearings 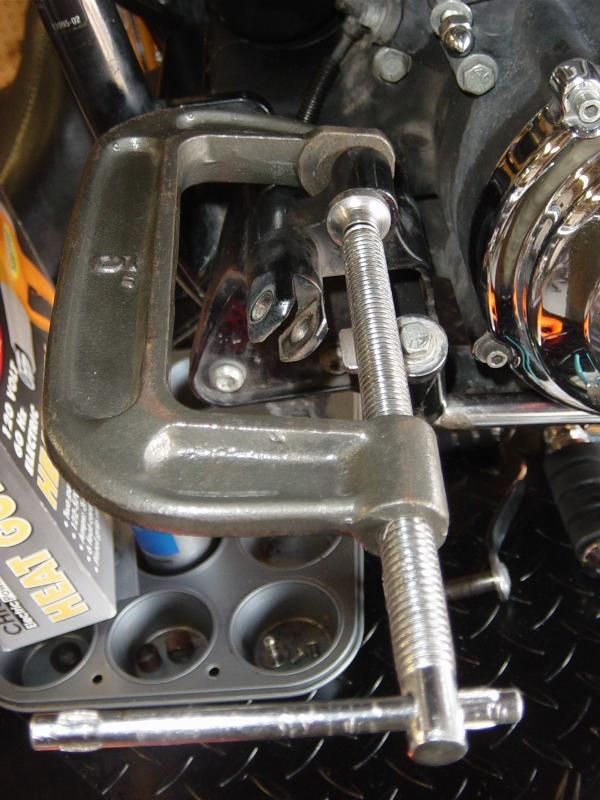 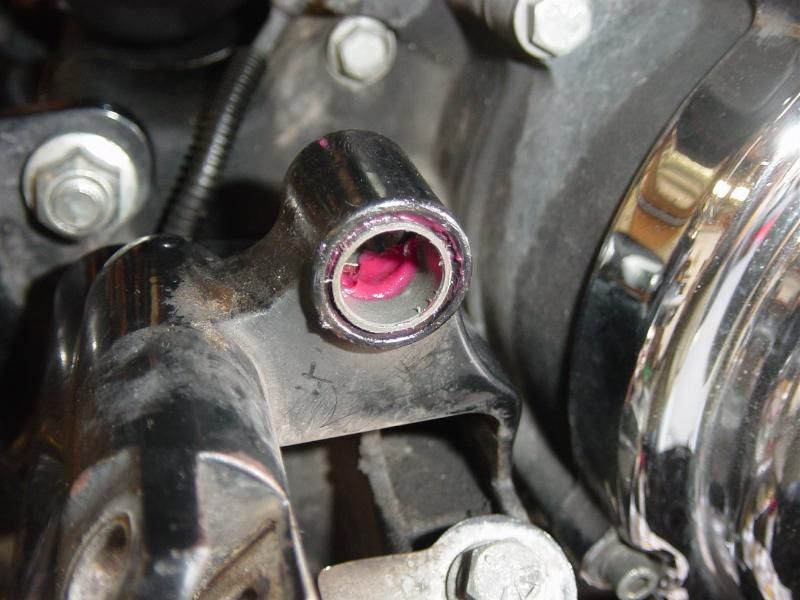 And you wouldn't believe it... put it back together and its solid and smooth |

|

|
|
10-21-2009, 05:07 PM
|
#2 |
|
Trip's Assistant
Join Date: Feb 2008
Location: Imported from Detroit
Moto: 2009 HD Street Classic
Posts: 12,149
|
Finished up the ceramic spray on the heat shields and put it all back together... WOW it turned out great.
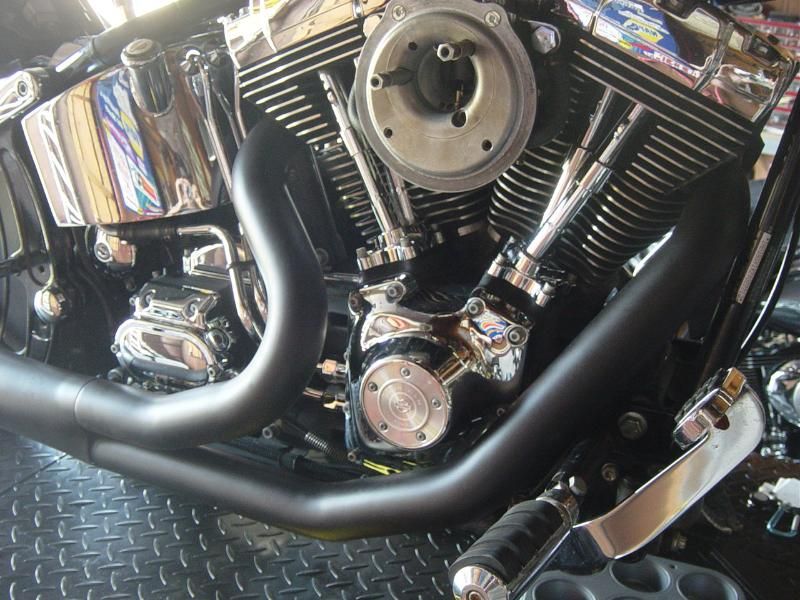 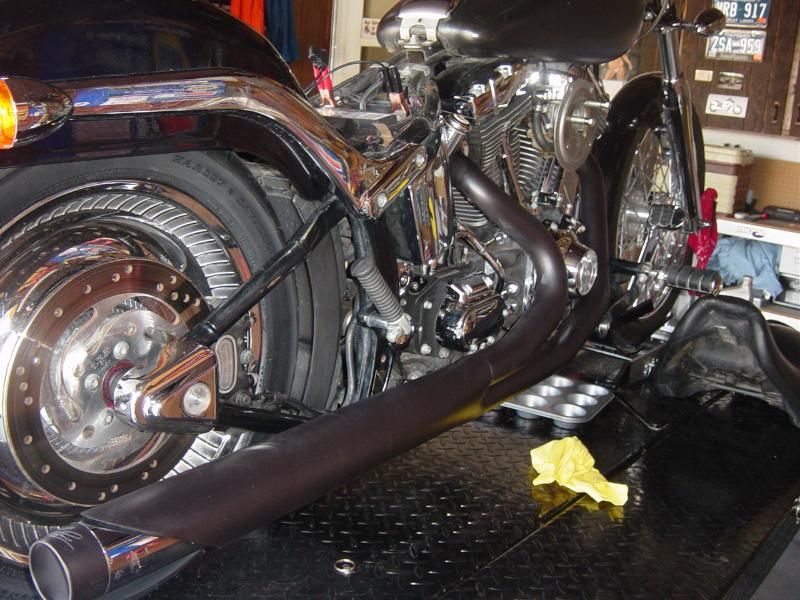 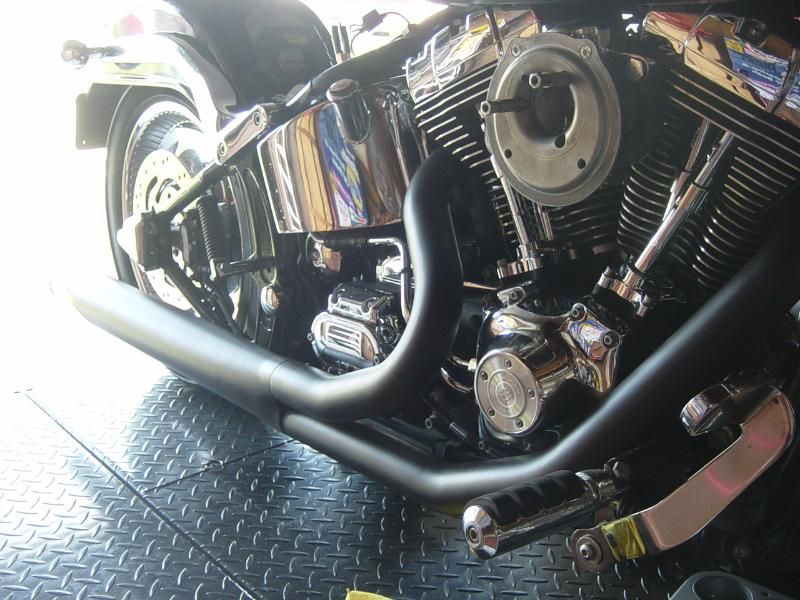 I think the black tip looks fantastic on the end 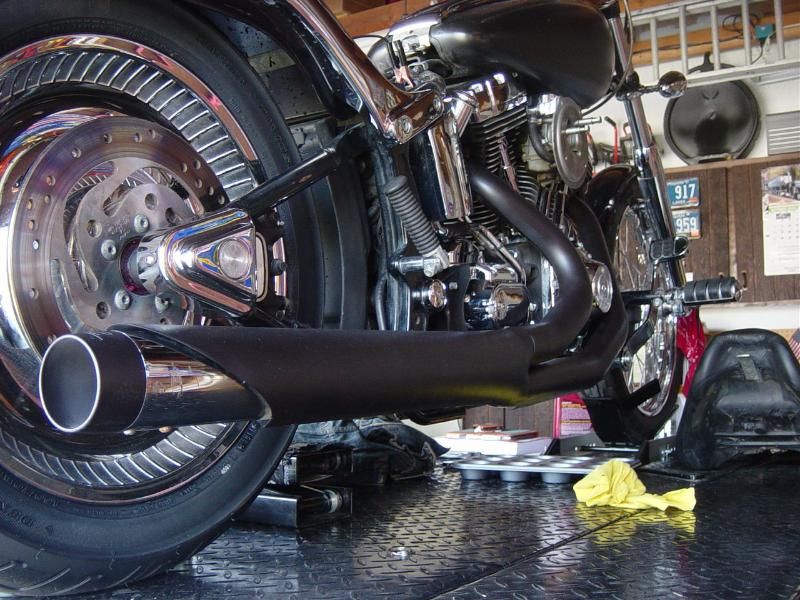 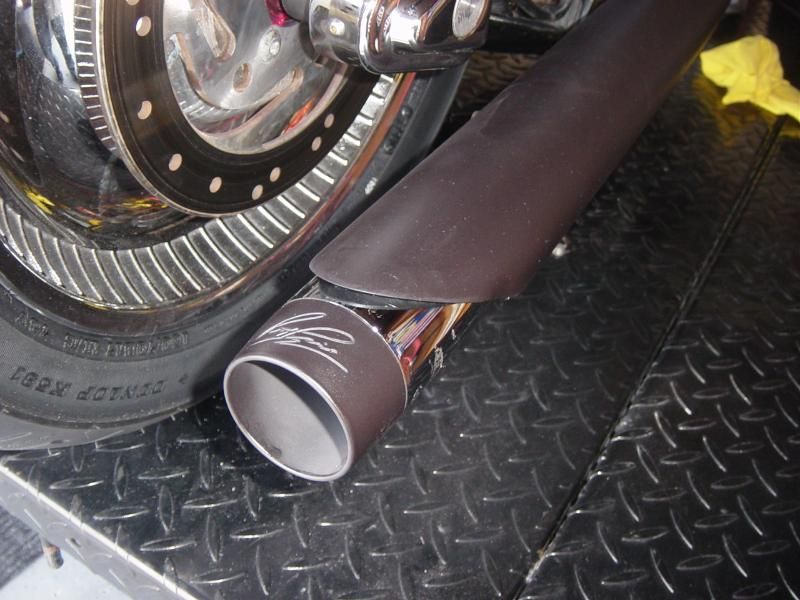 Still to come... I have to pull the dashboard, speedo, gas tank, petcock, and gas gauge. Need to clean the petcock and figure out why the speedo and gas gauge aren't working. |
|
|
|
|
10-21-2009, 08:16 PM
|
#3 |
|
Moto GP Star
Join Date: Mar 2008
Posts: 14,556
|
Nice job, Chris! You know what I envy most about you? Your ability to stop what you are doing to take pics!!! I'm serious! You and CEO... I've done some work to my bike, like replacing the rear shock for example and I wish that I had taken pics like you to show other people how it's done. Dammit, that's it! I'm changing my front tire this weekend and I'm going to take pics of the steps... Besides, I just got my Mojo Blocks which "supposedly" makes my $80 Harbor Freight kit as safe as a No-Mar rig!!! We'll see!
|
|
|
|
|
10-21-2009, 10:10 PM
|
#4 | |
|
Follower

Join Date: Nov 2008
Posts: 5,549
|
Quote:
 Good job on all the pics, that has to add some additional time to the project.
__________________
Racing For Smiles |
|
|
|
|
|
10-23-2009, 09:35 AM
|
#5 | |
|
DefenderOfTheBuelliverse
 
Join Date: Feb 2008
Location: Parts Unknown
Moto: Buell XB12R
Posts: 18,585
|
Nice job man. I spy some Biker Bob's bags on that lift.
__________________
 Quote:
|
|
|
|
|
|
10-23-2009, 03:07 PM
|
#6 |
|
Trip's Assistant
Join Date: Feb 2008
Location: Imported from Detroit
Moto: 2009 HD Street Classic
Posts: 12,149
|
Yes sir you do. I love that dealership. They always treat me like gold.
|
|
|
|
|
10-25-2009, 12:23 AM
|
#7 |
|
Trip's Assistant
Join Date: Feb 2008
Location: Imported from Detroit
Moto: 2009 HD Street Classic
Posts: 12,149
|
Update from Friday:
Well I'm a bit disappointed in the HD service manual. It gives me next to nothing on trouble shooting these pieces of the speedo/gas problems. I pulled the dash 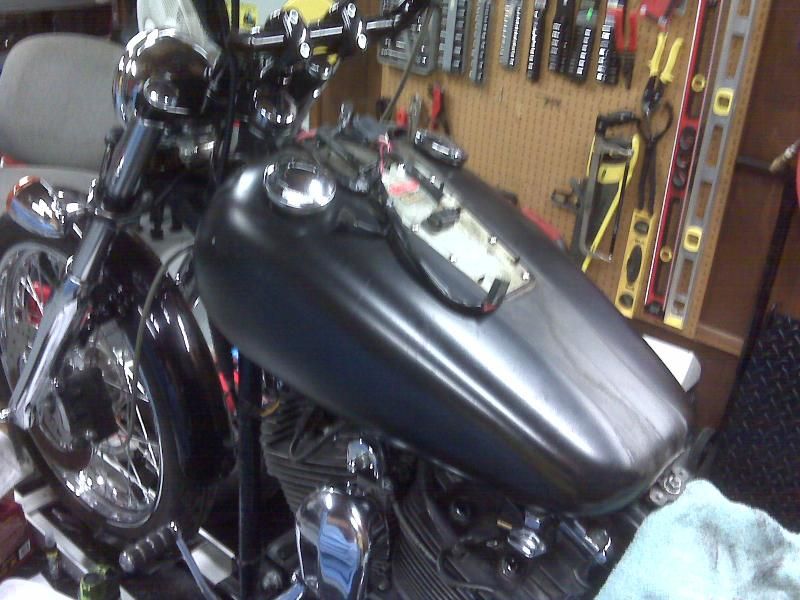 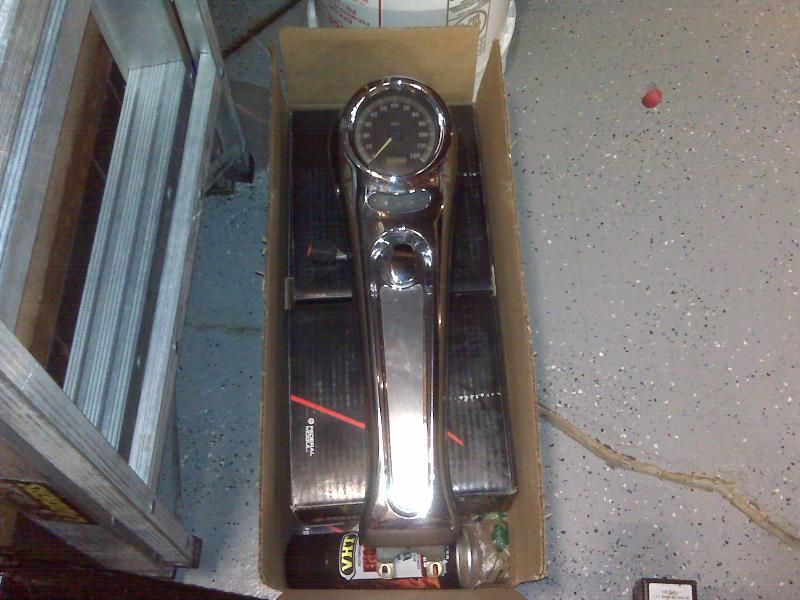 Drained and Pulled the tank 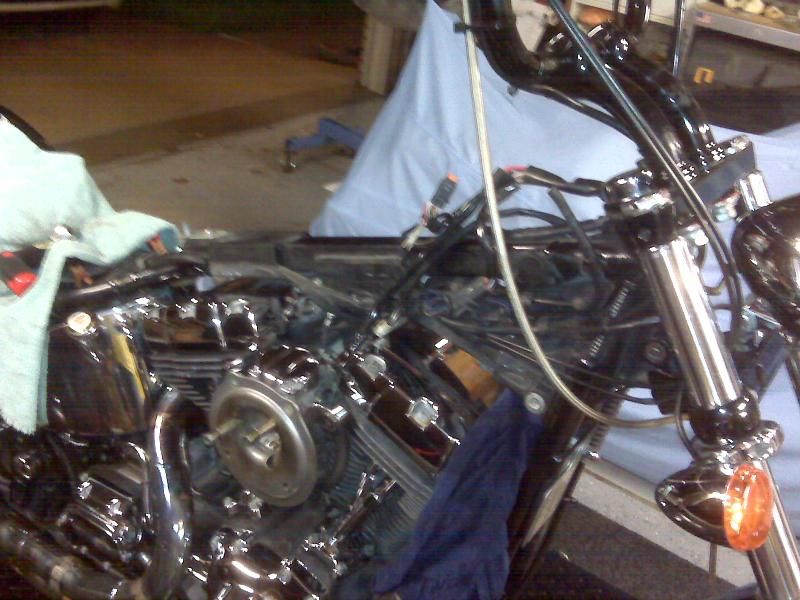 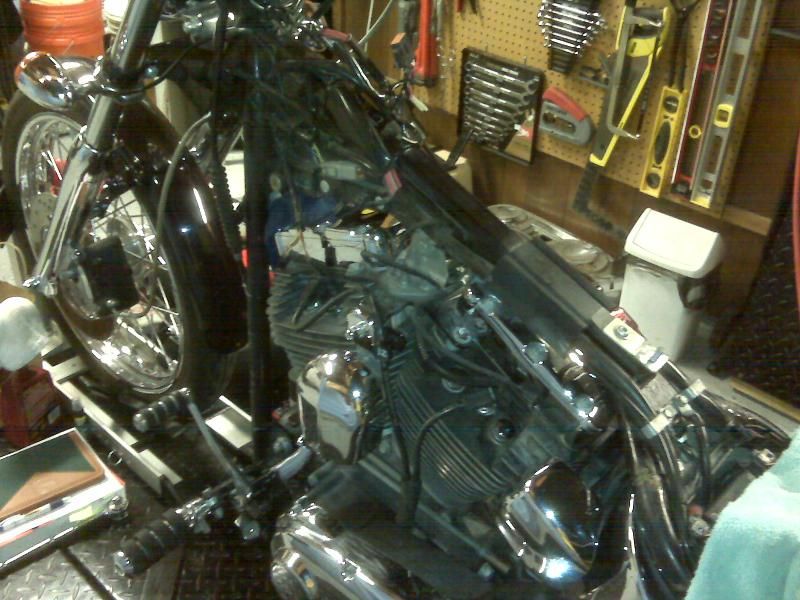 Pulled the sending unit from the tank 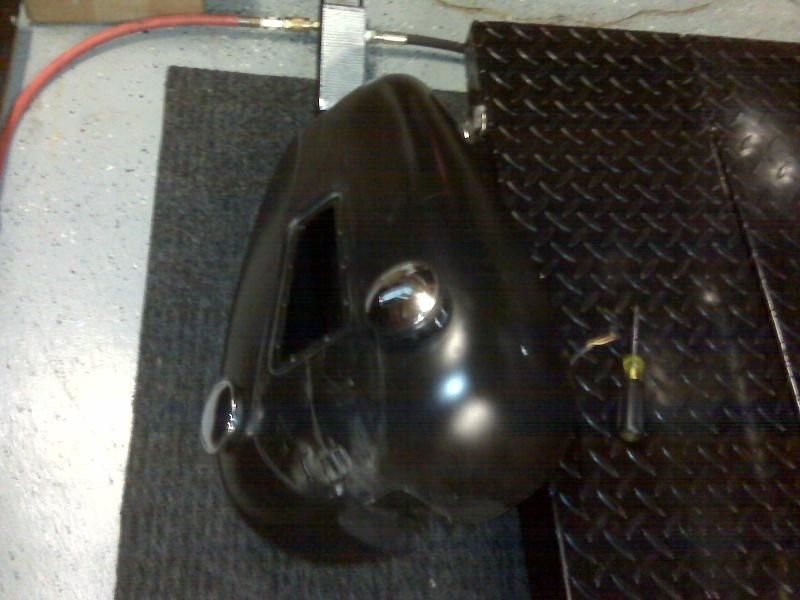 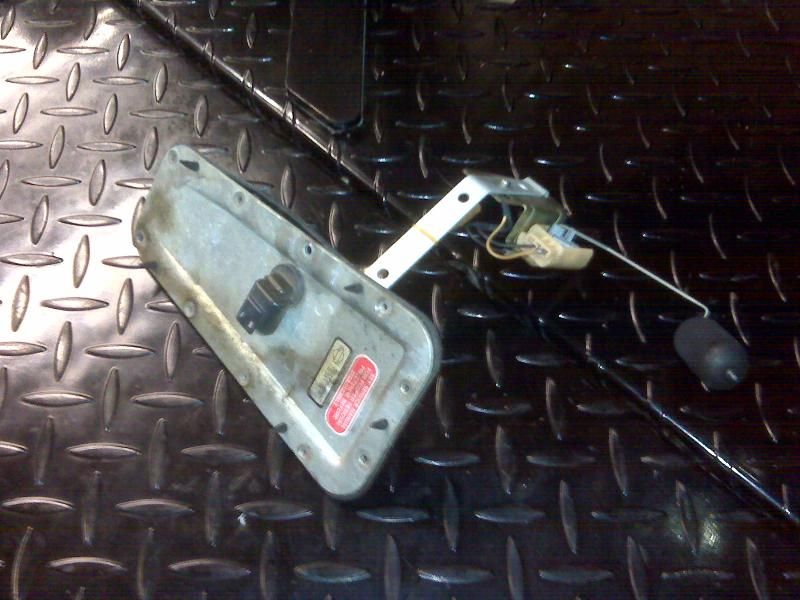 And this is the only piece that they give any info on for checking the parts 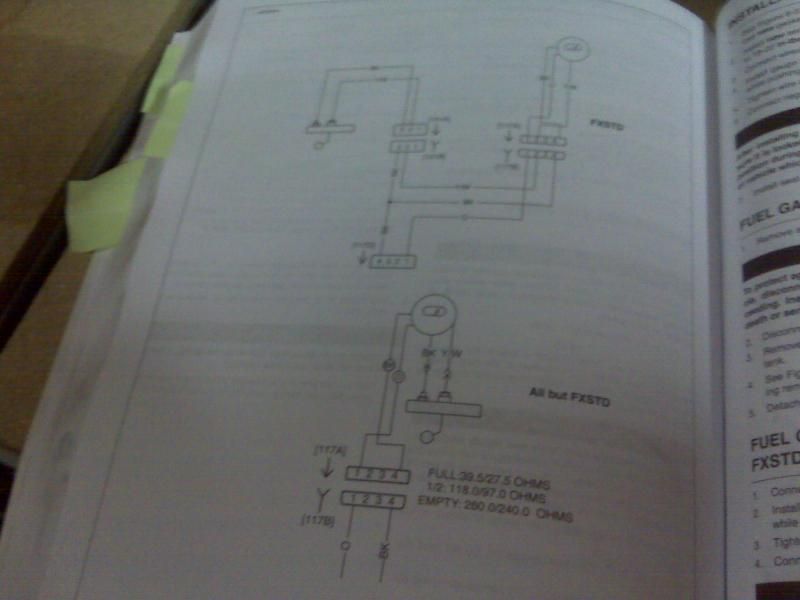 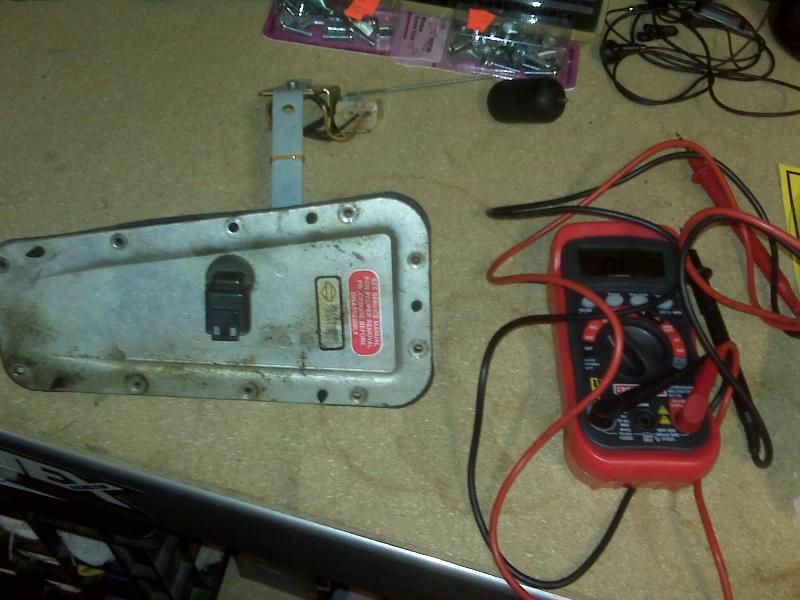 The clip on the back of the swivel of the gauge sending unit was loose. I checked the range operation with ohms and it seems to be in the range specified in the book. The wiring don't look bad at first glance. Need to check for proper voltage on bike and check fuel gauge operation. But with what numbers? The manual gives me nothing. Same goes for the speedo not working. Nothing for troubleshooting in the manual. Tells you how to remove it but that's it. 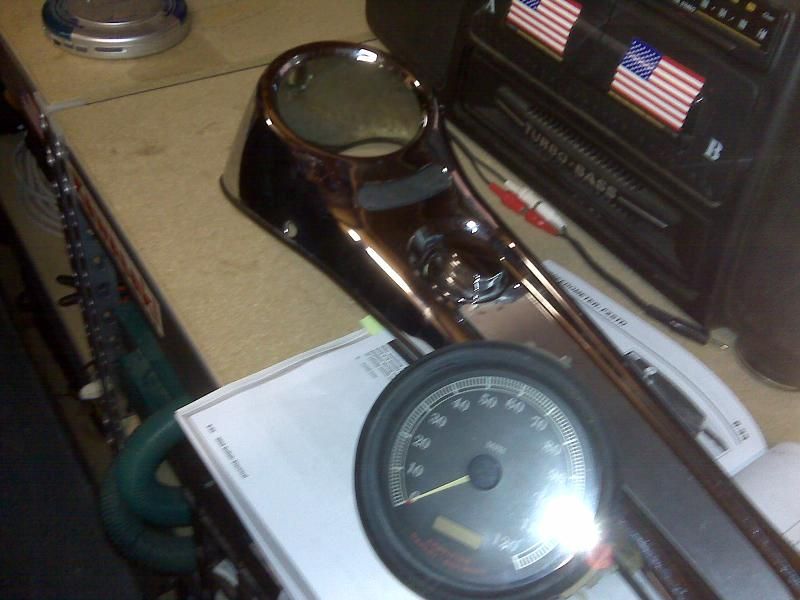 Saturday update: Well I got it figured out. Spoke to the mechanic at the dealer. he gave me a couple a tips. I also found out that if you want electrical help you need to purchase a seperate electrical manual. They are published yearly so I bought one for my set of 2009s. But onward to this project. First... on the gauge sending unit. He agreed the loose clip I tighted on the pivit pt may be causing some issue. But he said in 2002 or 2003 there was a service bulletin to trim the excess off the float arm. The 1/4" excess hangs up on either full or empty on the inside of the tank. So I did trim it  Test it by moving the float by hand... Works. Re-installed with a new gasket (old one was dry rotting) and new replaceable sealing screws. 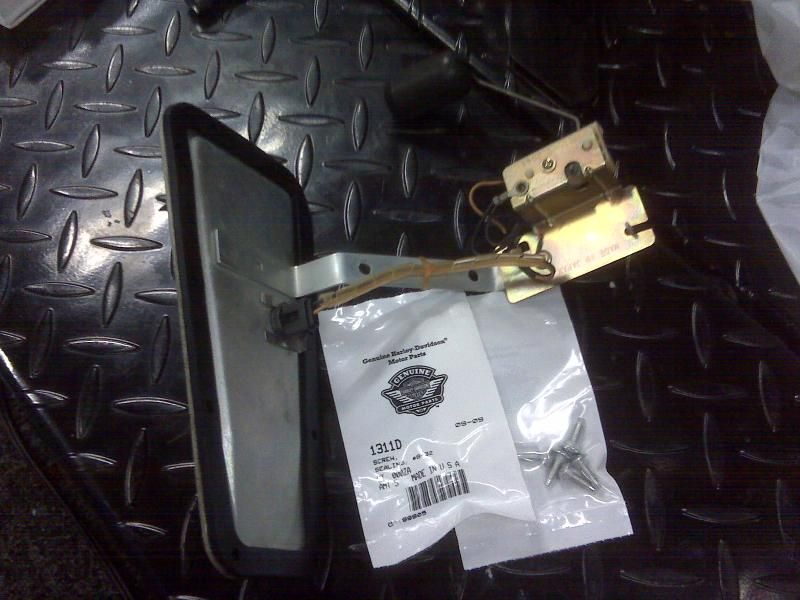 BAM... works with a full tank of 93 octane mixed up with some seafoam. 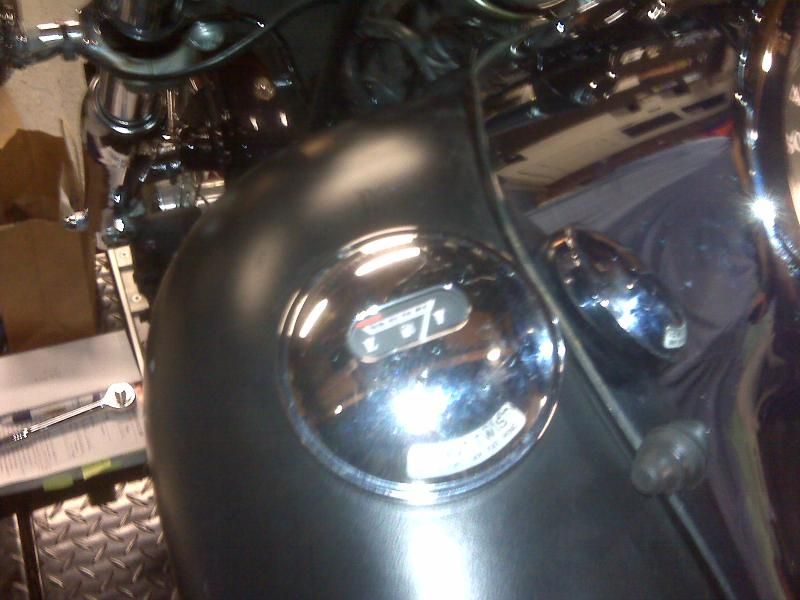 Second, the mechanic informed me that when cleaning a HD speedo sensor that you must never touch it with your hands, where clean rubber gloves, and clean with brake clean and soft cloth (like microfiber or diaper towel). So if it wasn't screwed up before (proven later it was) then cleaning it with a shop rag would damage it. (I dont get it that but will use caution when handling one in the future. He says its most likely the sensor cause I told him it was covered with shavings when I removed it. So I picked up a new one, which also is a improved (supersuicided version). (pointing at new one)  Got it wired in and yes officer I know how fast I was going. 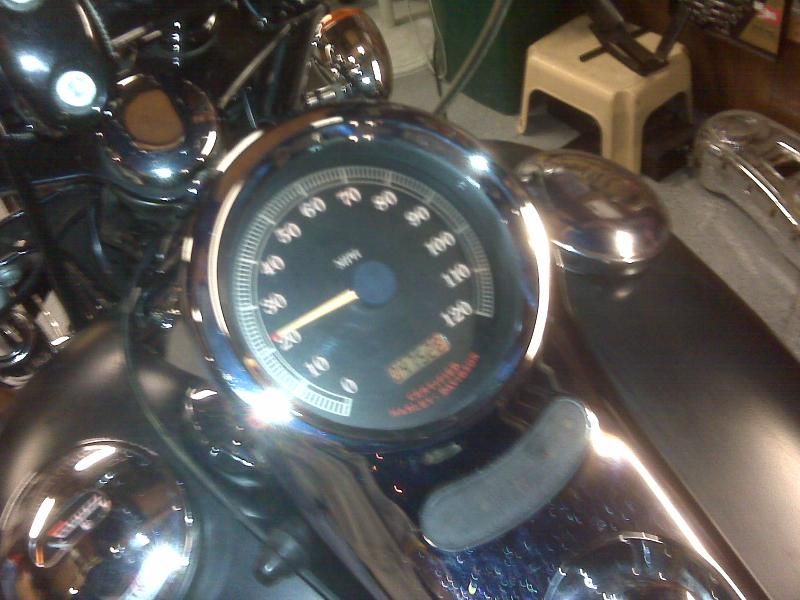 So I buttoned up the project and calling this one a success. Got everything fixed, tuned, and polished up. All at 50% the budget I was given. |
|
|
|
 |
| Bookmarks |
| Thread Tools | |
| Display Modes | |
|
|





 Hybrid Mode

